Select Vendor Invoice from the Accounts Payable menu, and the Vendor Invoice window opens displaying invoices for all vendors.
Select a New
invoice, and select Express Warrant
Printing from the More
menu.
OR Click the Invoice(s) link
for a New invoice to open
the Edit Invoice
window. Then click Express Warrant
Printing in the Invoice Items
tab.
The following dialog opens.
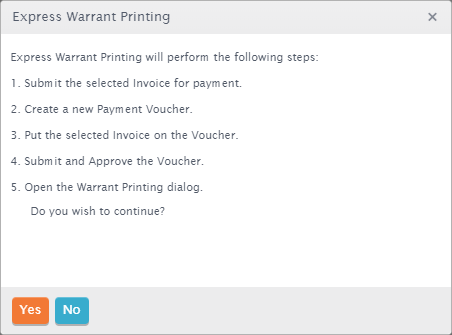
Click Yes if you want to continue the process. The voucher is prepared, and the Warrant Printing window opens displaying the single warrant.
Select the Bank Account No. from the pull-down list if the default isn't the correct bank.
Check the First Warrant No. to make sure it's correct, and change it if necessary.
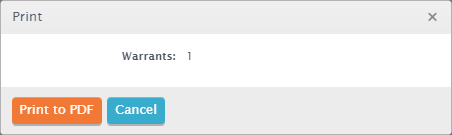
Select the warrant, and click Print. The Print window opens.
Click the Print to PDF button. You're kept notified of the progress, then the Save dialog window particular to your browser opens.
Re-name the file to give it a more descriptive title.
Navigate to the location where you want to save the PDF, and click Save. Once the PDF is saved, you'll see in the Print Warrants window that the new warrant has a Pending status.
Open the PDF to review the newly printed warrants and make sure they're correct.
If the warrant printed correctly, click Verify, and continue with Verify Now.