Manage Logos
Use the Manage Logos feature
to upload and manage logos used to print on forms in the Payroll, Accounts
Payable, Accounts Receivable, and Purchasing modules. It will print on
payroll, liability & warrant checks, customer invoices, and purchase
orders.
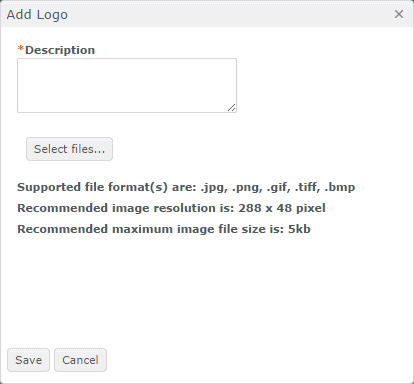
AptaFund will accept
the following file formats: .jpg, .png, .gif, .tiff, and .bmp.
The recommended image
resolution is 288 x 48 pixels for a rectangular logo.
The recommended maximum
file size is 5kb.
Check the size & re-size your logo
You can check the size of your logo by opening it in a program like
Windows Paint — one of the Windows system accessories.
After you've opened
your logo in Paint, select Properties
from the File menu to see
what size it is. Sample
If it's too big,
you can edit the size by selecting Resize
from the Home menu. Sample
Click the Pixels radio button, and make sure
the Maintain Aspect Ratio
box is checked.
Change the Horizontal to 288 or under, and
click OK.
You can now check
the file size by selecting Properties
from the File menu again.
Upload a logo
Select Manage
Logos from the Administration
menu. The Manage
Logos window opens.
Click the Add button at the bottom of the
window, and the Add Logo window opens.
Enter a Description
of the file.
Click the Select Files button, and navigate
to the folder where the logo is saved.
Select the logo
file, and click Open. The
logo file is uploaded, and you're notified when the upload is complete.
Click Save.
The Logo in use box is read-only
and will be checked when the logo has been designated for use in one of
the configuration windows, such as Purchasing
Configuration, or on employee contracts.
Return to Administration
Overview